BigMP4 Blog
How to Reduce Noise in Grainy or Low-Light Video
Low-light video often mixes sensor noise with real fine detail. A moderate denoising pass can make a clip easier to watch, but too much cleanup can erase texture or create a waxy look.
Keep your original video. AI processing can estimate detail and may introduce artifacts; review the output before relying on it.
Tell video noise apart from useful texture
Noise often appears as crawling speckles in dark areas or colored grain that changes from frame to frame. Compression blocks, film grain, hair, and foliage can look similar in a still image but behave differently in motion. Decide which areas matter before selecting a stronger setting.
Denoising cannot restore detail already hidden by darkness, blur, or compression. If the scene is severely underexposed, retain the original and compare carefully instead of expecting noise reduction to relight it.
Start with the lowest useful noise setting
BigMP4 provides noise levels from none through low, medium, high, and highest. Process a representative clip with the lowest level that visibly reduces distracting noise. Move upward only if the remaining noise is more objectionable than the texture that each stronger pass removes.
Keep enlargement separate while you are judging denoising. Scaling can change how grain and edges appear, so compare the noise setting on its own first; then test the combination you intend to use.
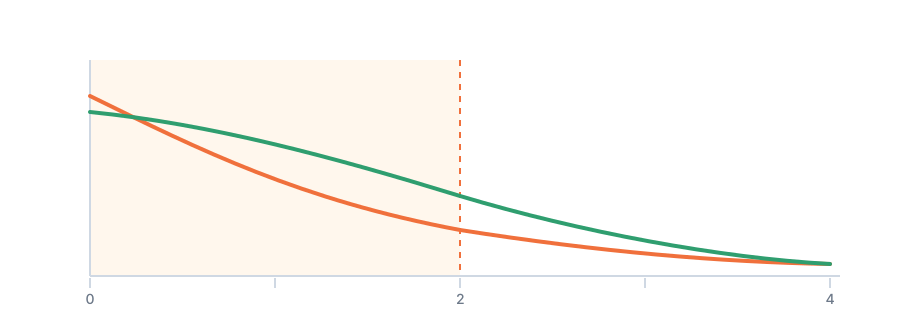
- Inspect dark and textured areas Choose a section containing shadows, skin, and fine detail.
- Begin at low or medium Compare with the original before increasing the level.
- Watch motion, not only stills Check whether noise flickers or details smear across frames.
Avoid waxy faces and disappearing detail
Over-denoising can smooth skin, soften hair, and merge small edges. In video, it may also make detail pulse from frame to frame. Check a face at normal playback size and pause on a few frames to spot both kinds of change.
If stronger noise reduction removes recognizable texture, step back to a milder level. A little visible grain can be preferable to a clean-looking clip with lost detail.
Compare the result in context
Review the same shadows and moving subjects in the source and output. Use the display brightness and playback size that match the intended use; a dark preview can exaggerate noise, while a tiny preview can hide smeared detail.
Keep the unprocessed MP4 and make the decision based on the full clip. If only one scene needs denoising, consider processing that segment separately rather than applying a strong setting to footage that is already clean.